

Painting your “Otter” Frame. Or any Other...
OK ... So I have decided to paint the next two “Otter” frames instead of having them powder coated, Why... Well you know when you have supposedly finished building your bike up and you think every thing is in the right place, then you jump onto the bike, and find that this, and that, is not quite to your liking. Exhaust run, wrong. Need a bracket for that, and another to reposition the ignition coil as it hits the tank, and the tank could do with moving up a 1", I could keep on.
Now your precious powder coated frame is not going to look the same with welding torch scorch marks on it is it? So you spend ages, and I do mean ages, looking for ways you can hold this and that onto the frame, without damaging the powder coat finish. I have come to the conclusion, that there are two alternatives. You either build the bike up without any paint on the bike at all and ride it until you are satisfied every thing is right. Dave Wood is doing this with his bike. Or you sand blast and paint the frame when you think you have every thing in the right place, and if there is need later for modifications, it is not too difficult to remove a small portion of paint to weld on a bracket, and then make the paint good again. So what paint do I use? Well after a short investigation to what is available. I have come to the swift conclusion, to use an epoxy based fast black paint. There are a couple or three on the market. So you makes yer choice.
I will probably go for the one marketed by PJ1 Fast Black frame paint. Here is a tip from PJ Harvey himself. And it looks like there is no need to use an undercoat, unless you want to.
[Make sure that you get your work-pieces warm enough to allow the paint to flow out properly; a couple of heat lamps in clamp-type light fixtures work great, and you can easily adjust the temperature by moving the lights closer or further from the work piece]
I will attempt to do a frame this next week with pictures and we will see how the job turns out. This below was 2015... things have changed... Firstly I will media blast the frame using only standard "play pen" type silica sand, with a cheap spray gun type gun appliance, but you will need a good respirator type mask, and a compressor that can keep up the 100 plus pound's constant pressure... _______ We now in 2023.. have a large media blast cabinet, that will take the frames JUST... so this saves with the dust and cleaning up... _______ Now most of my frames and the ones from Faber, are bronze welded, these frames need extra care when blasting, to make sure you remove all traces of borax type welding flux from the joints. If you do not do this job thoroughly, it will penetrate your new paint finish and, more importantly encourage rust onto your frame... so pay extra attention to these areas of the frame. OK...
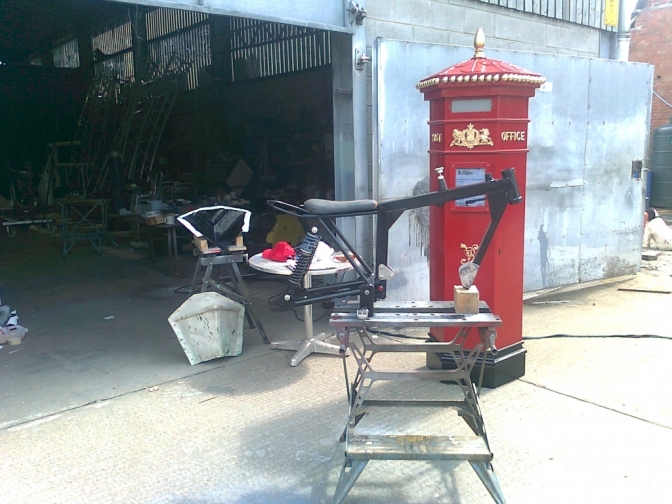
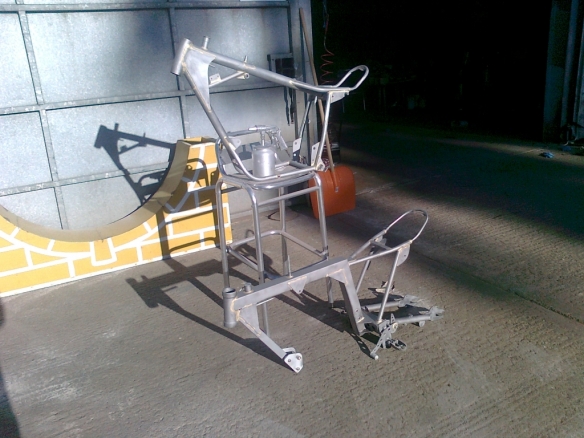
Here below are the pictures of the three stages of painting a frame.
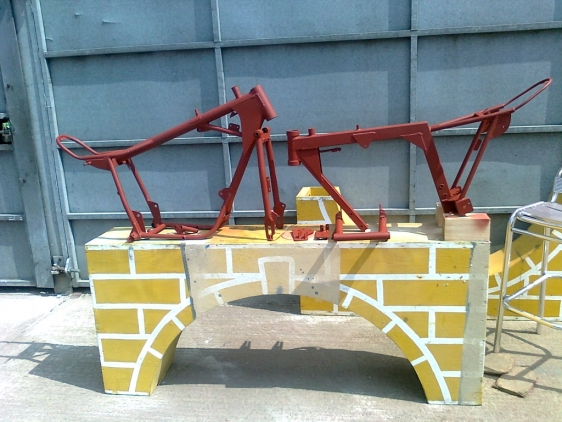
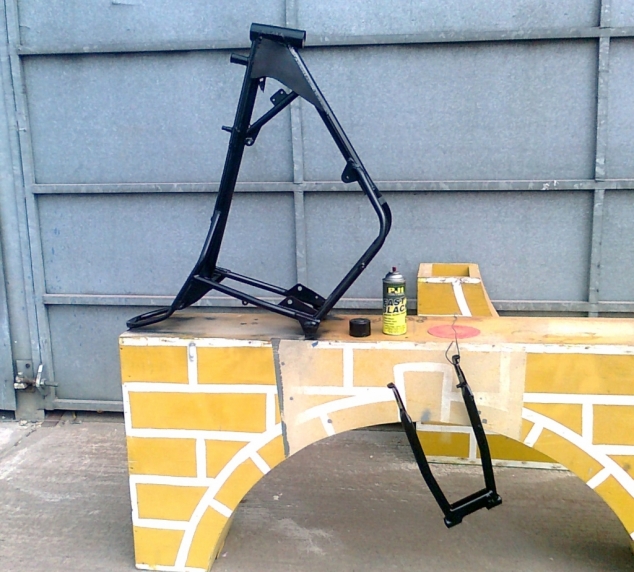
Number one, Shows the frame's sand blasted with the gun in the picture. The abrasive element was only silica sand (dry). I might add during all days of painting the frames the temperature out side was about 75F so more like a oven temperature. Picture two, Shows the frames sprayed with a good grade of red oxide primer, mixed with cellulose thinners. And picture three, Shows the John Husband frame painted with the PJ1 epoxy black paint. This was sprayed in the middle of the summers day when the sun was hottest, and to be quite honest, it baked the paint on, and was dry by five thirty. We will see how good a finish it really is, and what it stands up to, but it looks good at the moment.
The SQ frame is going to be finished with a different paint and then 2K lacquer,(clear-coat) picture later.
One thing you always need to check is that there is no moisture left in the steel tubing it's self, as steel is a bit like a sponge.... ~~~~~~~~ So leaving these frames in the mid day sun more than helped the situation.
Now with a good coat of chromate red oxide primer the steel should be sealed from the elements and be ready for the top coat.
I remember my CoTTon "Telstar" frame all those years back 1965 had this treatment and stayed on the frame event after event and being in several "OFF'S"...
The "Hubbo" frame above had several coats of the PJ1 fast Black paint, in fact there was only just enough paint in the can to do the job...
After another twelve months on the bench after the frame was painted, the paint seems to have stood up very well to getting moved about with occasional knocks. It is not one of the best finishes on a frame I have seen, but is quite up to the job...If you dont have the spray equipment...
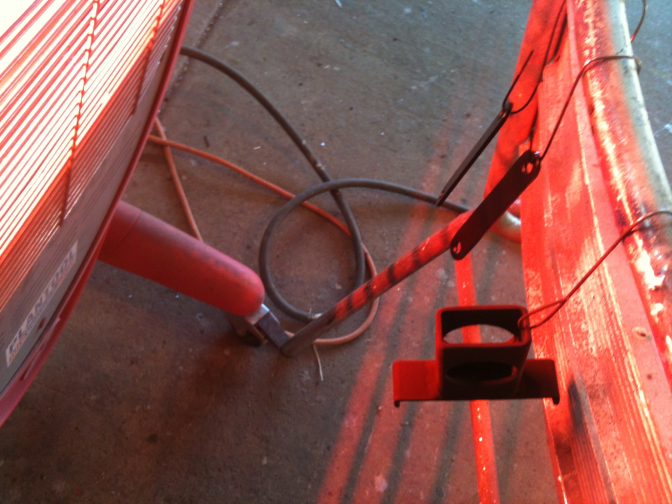
Most of the bolt on parts are going to be plated with our new plating kit.
I will run a page for this for you when we do it.
The SQ Square tubed frame was sprayed as suggested above, and then given a coat of two-pack clear lacquer (clear coat) on top of the paint. It seems OK... but did go slightly dull. and is to be revived in 2023..
OK... I have decided to use a well thought of paint system for the Mini-Otter Super Cub...(One)... Trials frame to try something new and see if all the praise about the product system is true.
You know me by now, I have got to try every thing once.
The New Paint system being used is the American POR15. I have it on order and will start the process in a couple of days.
This is what I am using.
|
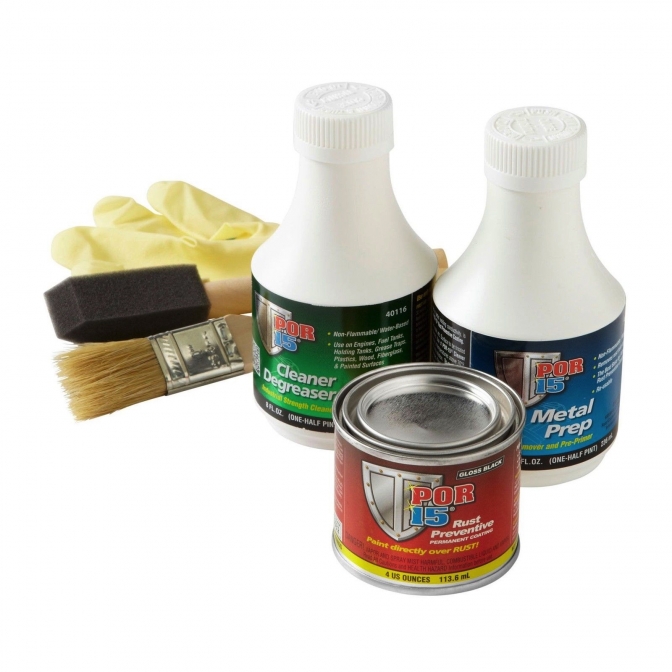
Firstly you clean the frame and then use the POR15 Cleaner degreaser.
There is a specific time to leave this on the frame before removing it. with water!
Then the Metal Prep is applied, and the same again leave and then rinse.
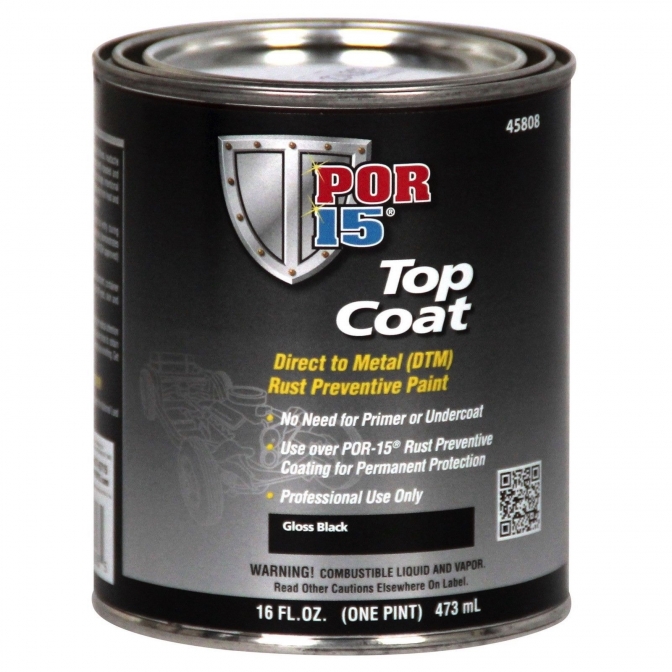
Now coats of POR15 Black Rust Preventive is applied.
Before finally coating with the Top Coat below.
I will go into more detail about the more technical side of this product
as we use it.
POR-15® PRODUCT DESCRIPTION...
POR-15 Inc. brings the powerful technology of polymeric isocyanate derivatives to the consumer rust prevention market for the first time, a technology vastly superior to competing products currently on the market.
POR-15® is easier and less expensive to apply than epoxies, since it doesn't require mixing: and POR-15® dries to a high-gloss or semi-gloss finish just like paint, except that it cannot be scratched or peeled off.
Since POR-15® chemically bonds to metal, the underlying surface does not have to be sanded before application. As long as loose or flaking rust are removed from the surface, an application of POR-15® will not only cover up the rust and prevent it from spreading, but will also strengthen the underlying metal and seal holes by forming its own membranes.
POR-15 is a rust-preventive paint designed for application directly on rusted or seasoned metal surfaces. It dries to a rock-hard, non-porous finish that won't chip, crack, or peel, and it prevents rust from re-occurring by protecting metal from further exposure to moisture. POR-15 is sensitive to UV light (sun) and must be topcoated before prolonged exposure to sunlight. POR-15 is cured and strengthened by exposure to moisture and will dry faster under extreme humidity, but moderate to dry atmospheric conditions are most desirable when applying this product,because extreme humidity may cause an immediate surface cure, trapping carbon dioxide gas below the surface. When this happens, bubbling may occur. Extreme humidity at the time of application may also interfere with proper adhesion of the POR-15 coating to metal because it's almost impossible to keep metal dry under such conditions.
POR-15® is a paint-like substance which acts as a total rust inhibitor and also very effective as a metal filler. Its consistency is approximately that of paint and it has very good spreadability (one quart covers 96 square feet). POR-15® chemically bonds to rusted steel to form a rock-hard, nonporous coating that won't crack, chip, or peel. It works by isolating metal from moisture; without moisture present, steel can't rust. Thin, covering coats are best. Apply second coat when first coat is dry to touch with slight "finger-drag" remaining.
~~~~~~~
Well I must say after sticking to instructions and applying all coat's in the POR-15 kit, the frame turned out OK... but not the best of finish...
But after a new swinging arm being made for number ONE Mini-Otter I put the old one in the blast cabinet to take the paint off, and it sure is some tough finish, and the grit did not move it and just bounced off.
So that is POR-15...
Powder coating ... With home powder coat kit...
02/02/2019...
After sending frames to the powder coaters and forgeting to send all of the small parts after some were lost at the coaters. I decided to buy one of the home kits and see if I could use it to coat these small parts you get with every frame.
The Easy-Coat kit seemed the best on the market so one of them arrived as a late Christmas present to myself...
I still could not see that it would be a simple an operation as it said, and I could see if you went about it wrongly you would loose a lot of the powder, so a big clean plastic tray was found to catch any falling powder.
I must say I was amazed how the static charge only ment me wearing a bracelet and the low pressure of air needed.. You can see below the results and only curing with the infra-red heater and a heat gun...
I must now wire up my old electric oven to do the next batch, and when I can find time build a frame sized curing oven...
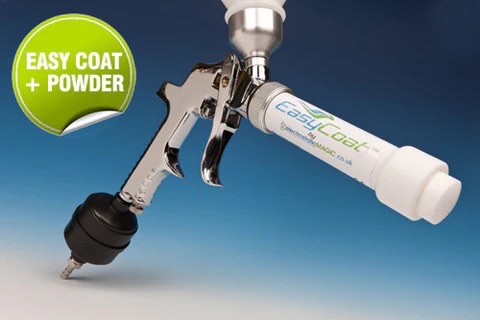
Easy-Coat...
~~~~~~~
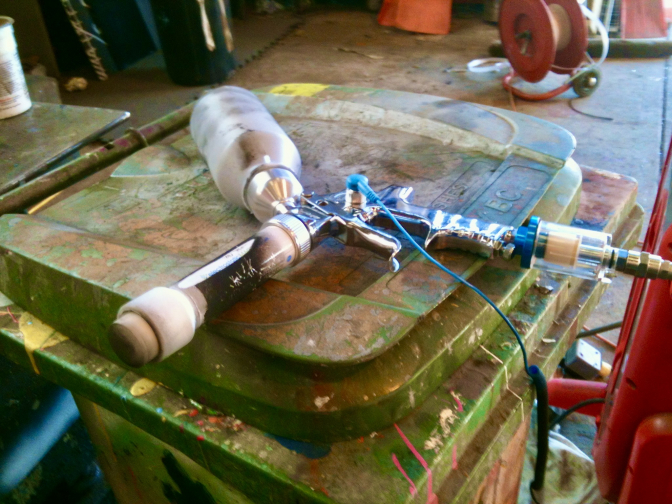
The gun just after use... and not much mess is there...
Warming up on a spring like day...
Parts turned from dull powder to shiny black finish in ten minuets what a result...
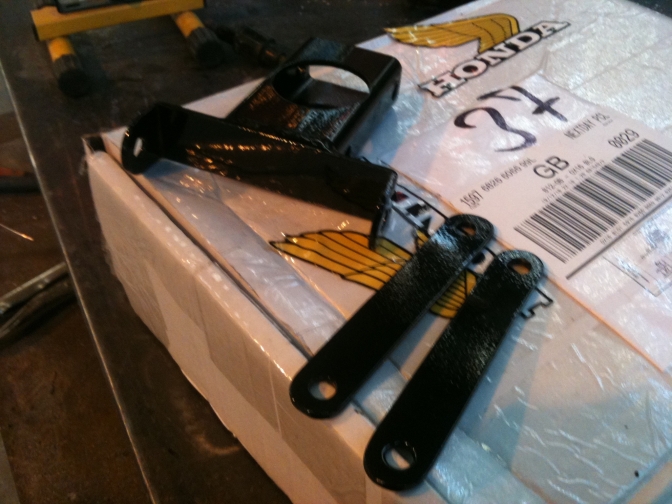
First attempt at this art of powder coating... And parts ready to go....
Nice one..
I am going to try and do a frame with my Easy-Coat... next... we will see how it goes...
Just Repairing this Page as I wiped it, silly me... it was Easy-Coat to do...
New Paint Job you see...
More Later...with video coverage of the frame paint and Powder coat procces..
~~~~~~~Updat2023...06...
| Visitor Counter: | ||||||||
 |  |  |  | | | | ||