

One Step A Head.
or "A step a-Head of the game"
28/09/2019...
I have been following with intrigue over the past few years the activities of a small precision engineering works in Cradley Heath West Midlands, going by the name of RayBox engineering.
Over the years they have been turning out superb aluminium barrels for the BSA C and B range of bikes.
One of those things, I have thought, one day I will get around to trying one of those. And even looked at what they had to offer a few years back at Wrighties Telford Show.
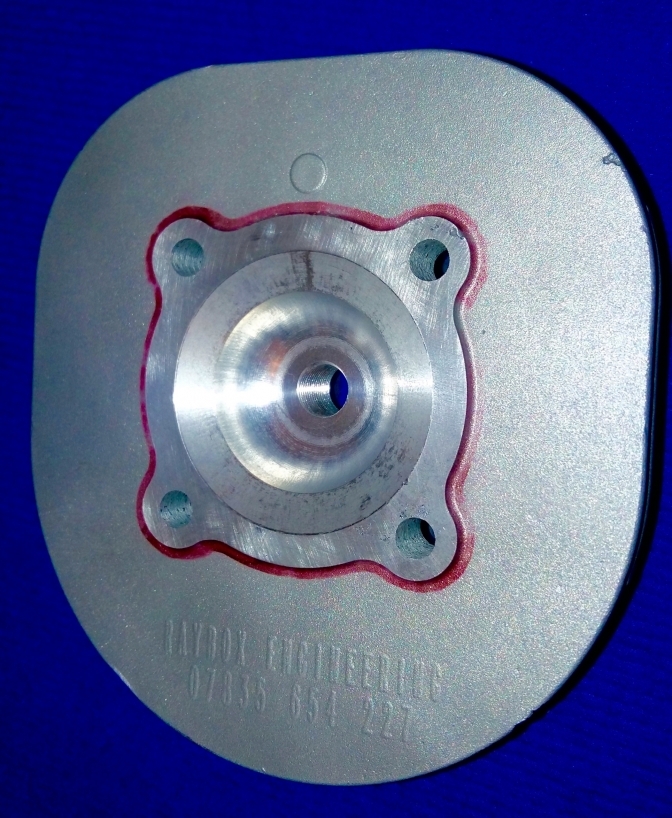
Well a couple of months back I see that Colin Boxley the proprietor, had started to develop a new cylinder head for the dwindled UK stock of BSA Bantam centre plug cylinder heads. And started to advertise them for sale on eBay…
I was short of a centre plug head so took a look at the advert a few weeks, or was it month’s back.
Then last week I had an email from Colin Boxley…
Asking me if there was anyone in the BSA Otter Club that may be able to help develop this new cylinder head.
I said I would think who might be the best person to give Colin the right feed back.
Then when Colin mailed me again yesterday I thought why not get Brian in the Isle Of Man to help with this development.. He had done a good job doing this on the Mini-Otter.. And has all the right contacts over there to develop a BSA Bantam..
Even with winners of the Manx Two Day Classic as aqaintants… And riding a Bantam…
I suggested to Colin I would be interested in doing a page on this little project as it could follow the development. And the other projects that Colin is currently working on…
Colin says he can set his CNC machines to mill any shape that is suggested and squish band into the Bantam heads.
We know the favourite shape a year or two ago was the one used on the Fantic, and Fantic heads were made to fit the Bantam.
I was told a while ago about a engineer in India that cut and filed three little slots into a two stroke cylinder head to make a better burn of the gas ..
Video on
And remembered a guy by the name of “Sailor Raynor” doing a similar thing on his racing Bantam, way back in the early sixties.. And my mate Colin Jenkins used to win on that bike all of the time.
It may be a completely different situation with trying to feed in more bottom end grunt into a Bantam engine for trials. But you also need instant response from the motors too now-a-days.
Colin has also re-ported a steel lined barrel for his road bike…
And also is just in the process of machining a new crank assembly.
I suggested that a trip to RayBox factory workshops might be a good idea.. To see what the guy does best…
And get a better insight into his projects. So watch this space .. I will also take along my Cannon Camera…

Colin tells me that he has made all of the dies or master tools for the lost wax, investment cast parts that that he makes.
We better take a quick look at this method of casting parts.
Known as the lost wax method that has been about for centuries and even before…
Investment casting is not somewhere you put your money?
Or perhaps it is ahy Colin……
And even this system has moved on a pace now, as you can do away with the master tool, and for rapid prototyping 3D print the item designed on CAD. With the right filament. And this takes the place of the wax pattern.
So like Colin you spend weeks perfecting your die for the part you intend to manufacture.
This die is then filled with the poured or sprayed on wax, this then has a bar, tree, or sprue made out of the same wax fitted, and this is attached to a funnel or cup with a centre bar of steel fitted.
The next process after finishing the wax pattern to the standard you want, filling air holes and getting rid of unwanted seams, is to dip the assembly into a ceramic slurry, and then tumble a layer of very fine silica sand over the wet slurry, carry on this process until at least five coats, (usually nine) has been achieved. The assembled construction is then left to dry or vacuum dried in an oven.. Before being fired or burnt out in a kiln at high temperature. This melts out the wax or filament plastic and hardens the assembly just like the cup you are drinking your tea from. This is left to cool and probably left over night, before being heated back up the next day for the casting process… While the assembly is at the right temperature, the molten metal is poured, and both the mould and the metal should now cool at the same rate giving very accurate shrinkage for good part fit when machined.
The ceramic shell is then cracked off of the part and the bar (sprue) and funnel removed. And the part cleaned up ready for machining.
This is the wax pattern before being prepared for casting.
~~~~~~~
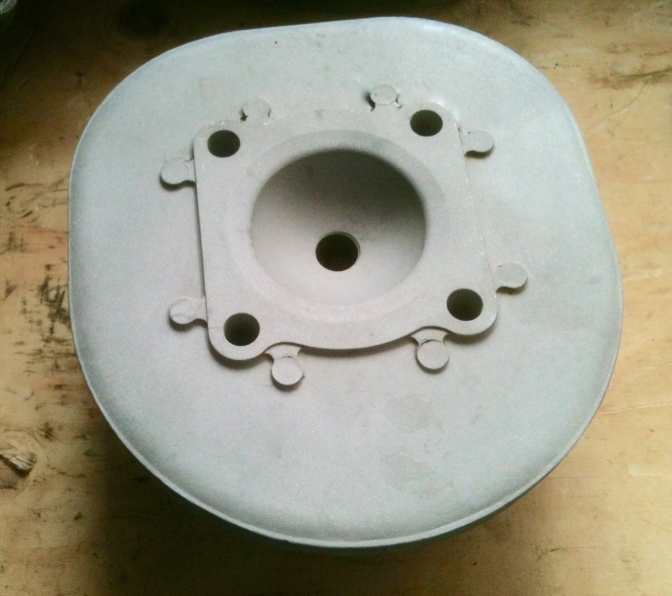
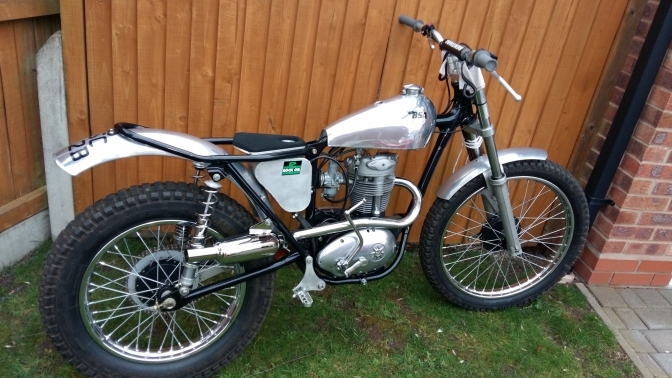
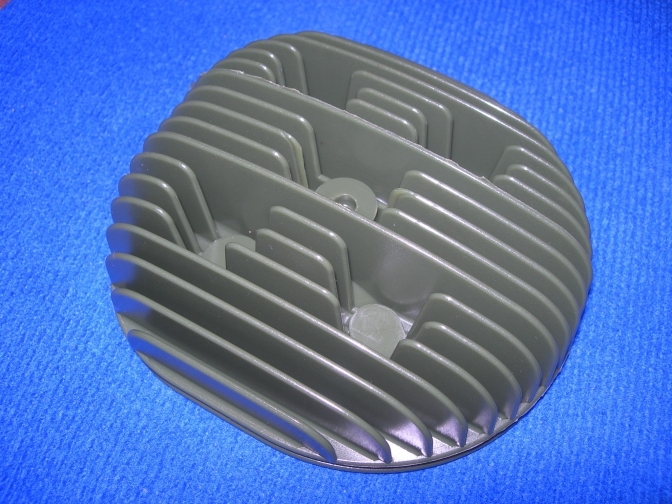
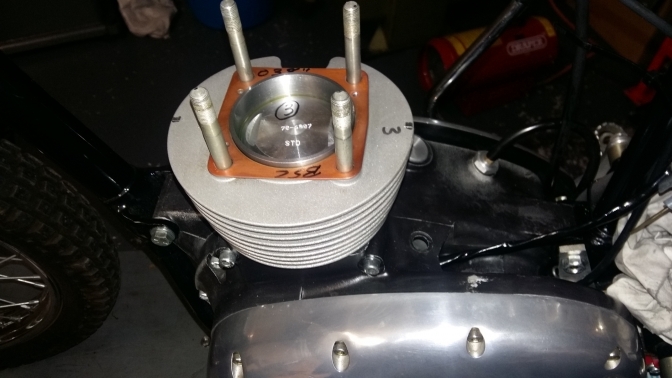
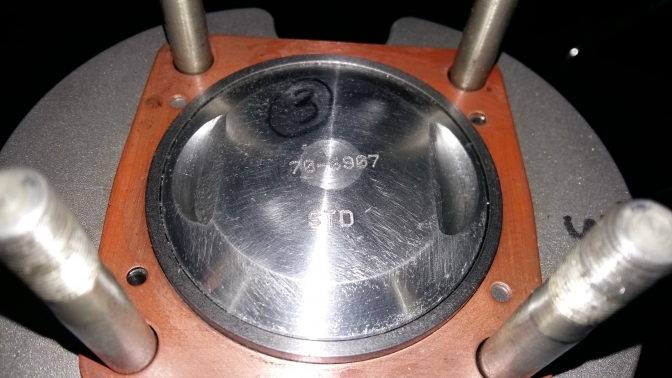
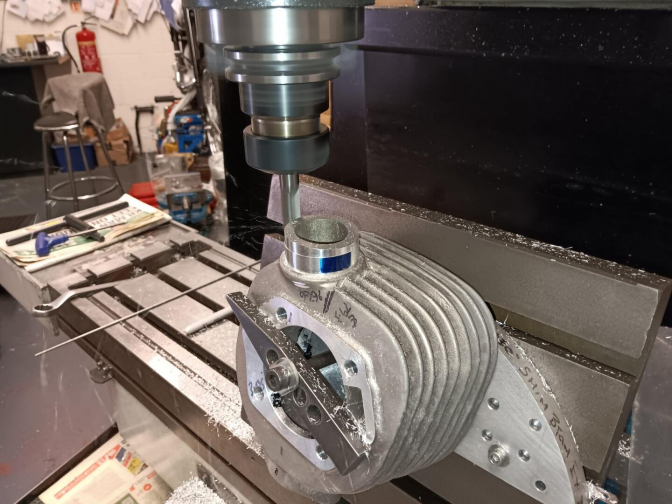
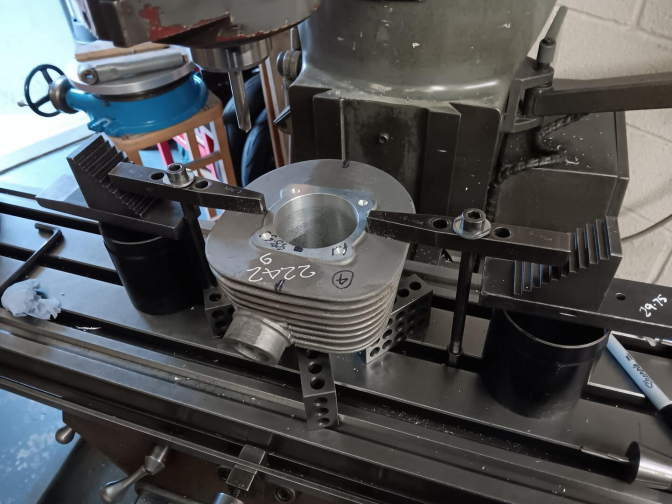
This is my Bantam B175 cylinder head, the last design made by BSA.
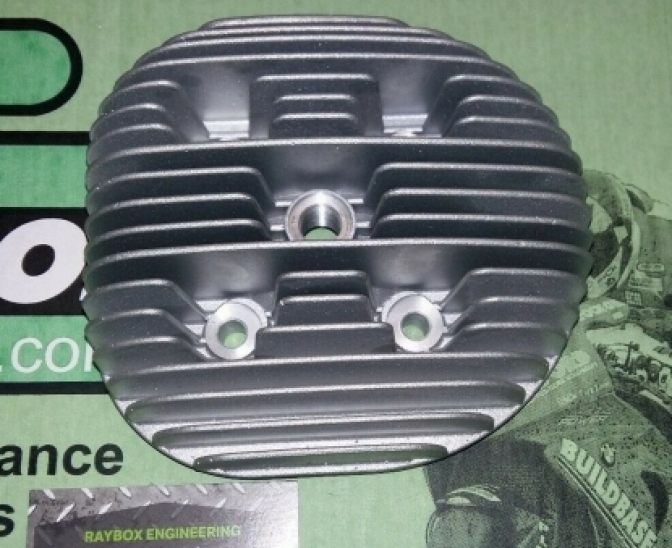
The RayBox centre plug BSA Bantam head ...
More on this project later...
~~~~~~~
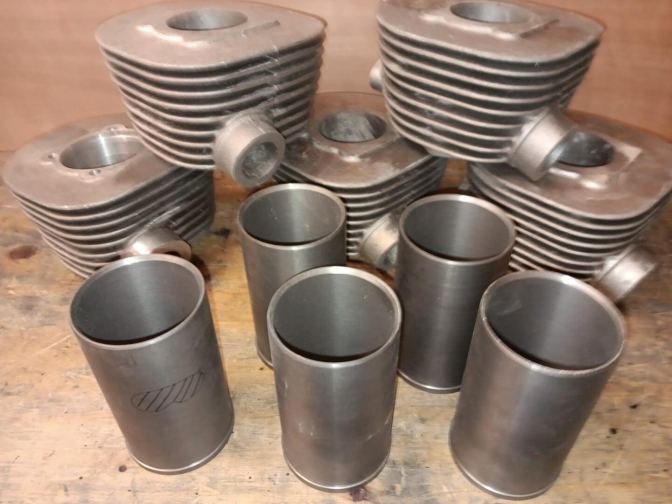
The BSA C-B series Barrels...
The other half of Raybox Engineering... Donna Raybould ,
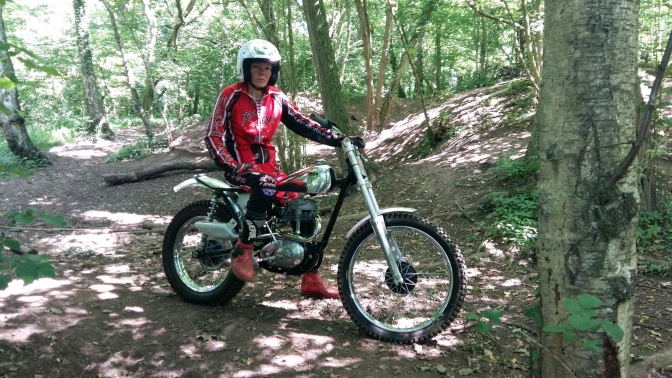
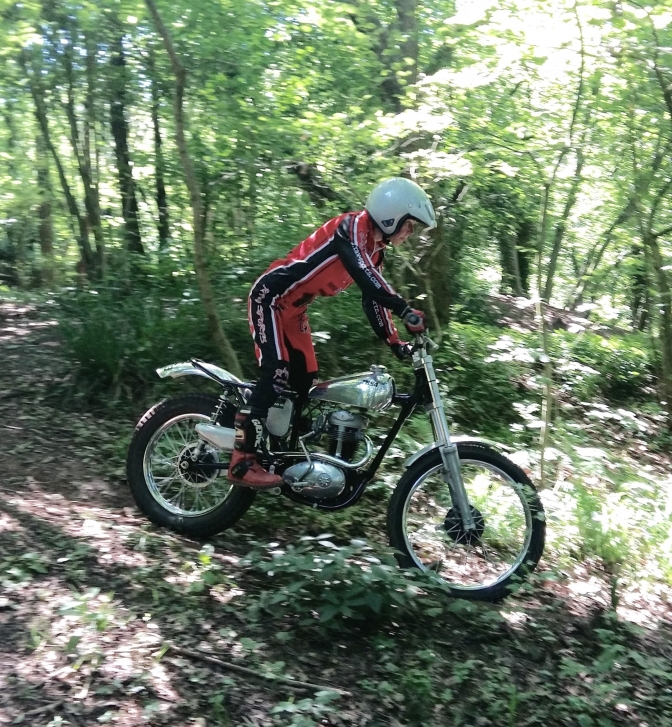
Out testing the BSA C-Fer.. At Shatterford.
Donna loves her motorcycles like the rest of her family, and rides a
Honda CBR 500R on the road..
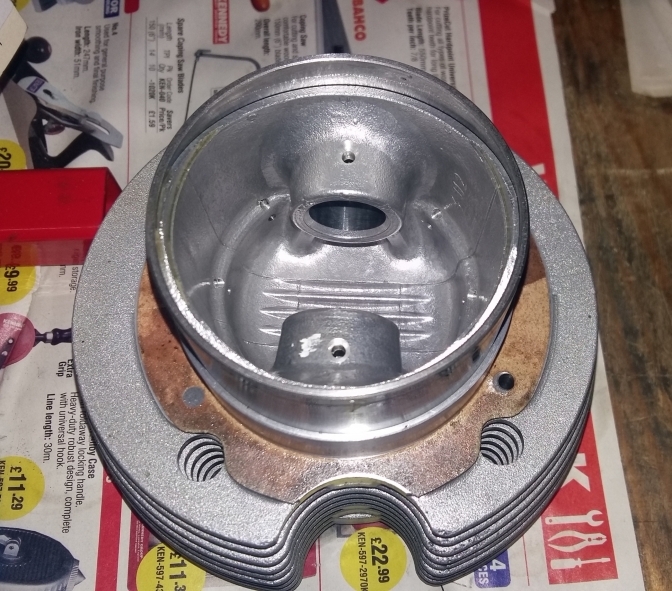
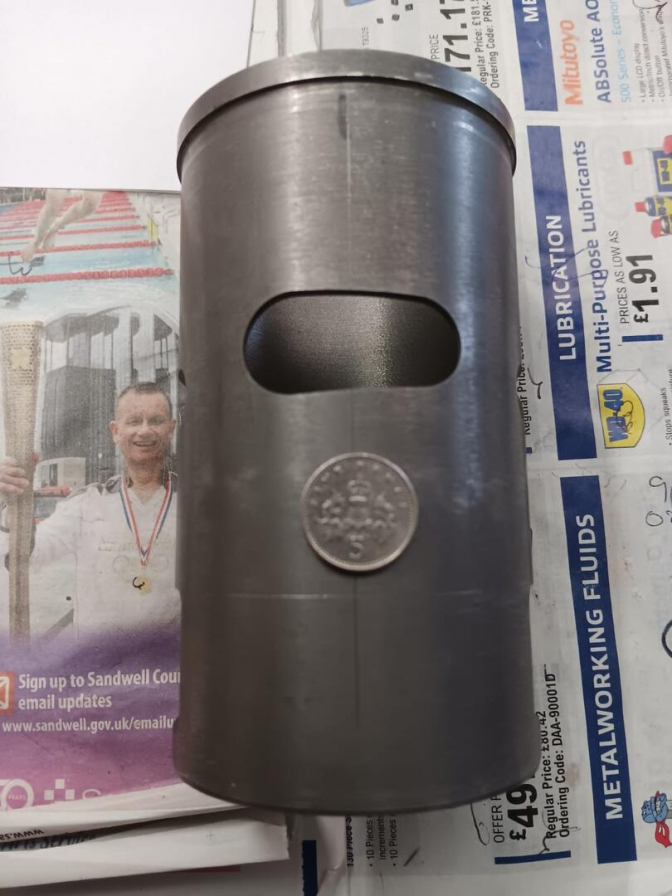
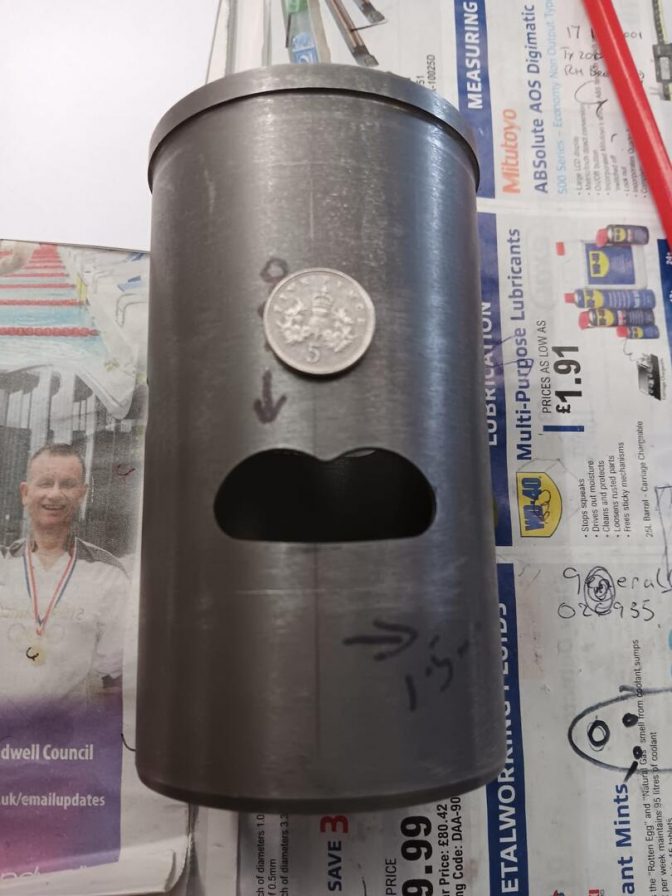
One of Colin's BSA C15 investment cast alloy LM25 barrels...
Each part machined to close tolerances...
All Photo's Courtesy of Colin Boxley ©...
So perhaps you now can understand that although this process makes a superb job it is also very time consuming.. Like anything that is worthwhile in this life.
So back to the plot. And don’t think that these artisan parts manufacturers do the job for the money. It is more a case of loving what you do...
More on this story later where we will investigate the difference and different squish bands, and compression ratios on two stoke engines, and what changes the characteristics, of how they run.
All parts from RayBox are ultrasonically cleaned before assembly...
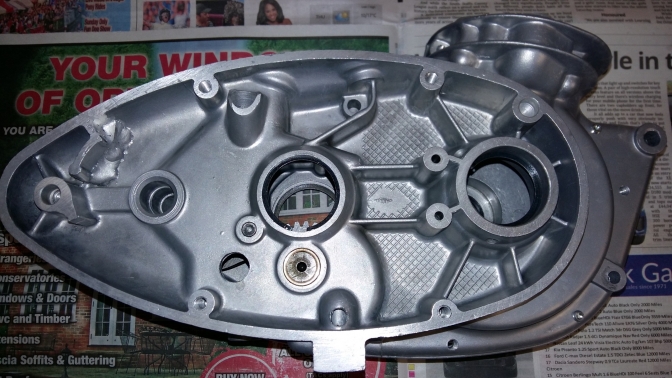
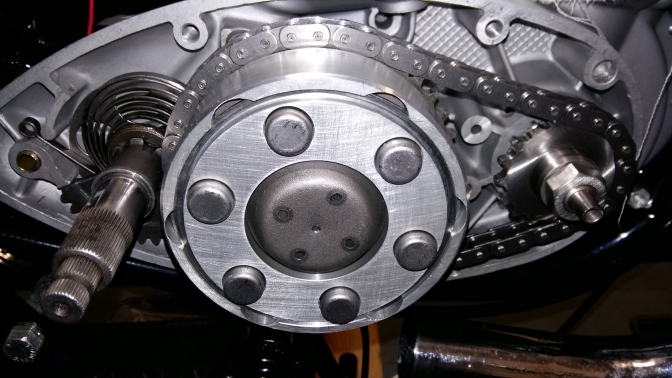
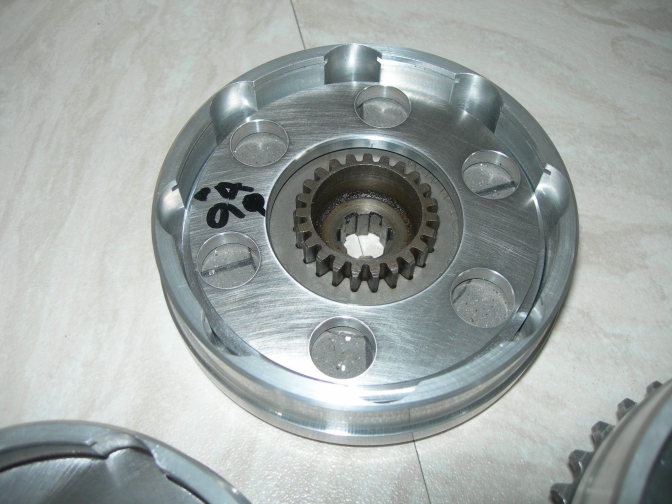
The RayBox...Bantam Clutch.
Conversion...
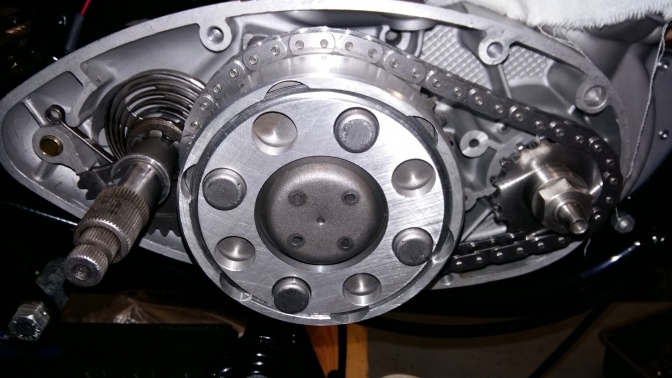
This is the eight spring version
the six spring is below.
Colin says ...
The clutch I did, works really well, & uses all the Bantam parts apart from the steel plates which are laser cut with round drive lugs, standard friction plates, original centre gear, circlip, springs & cups all Bantam, only thing new is 3 drive plates & 1 pressure plate all steel, T6 alloy basket & spring cup retaining plate with 6 to 9 holes, it works real smooth on the road D14/4 no slip, judder, selects neutral when stationery, yet another part that needs a vigorous testing by the trials guys.
The baskets could be made quite cheap if cnc lathe & quantity were applied, its a bit of a job to fit, couple of hours to remove old steel basket & fit the billet one, and all fits behind original cover with no mods.
Six Spring clutch...
With more rigidity of the clutch basket and better spring pressure on the pressure plate, there is no reason why the six spring version might not work very well...
We will see...
~~~~~~~
More later on this story another that will Run...
21/04/2024...
BSA Bantam Barrel Project...
One step a head…
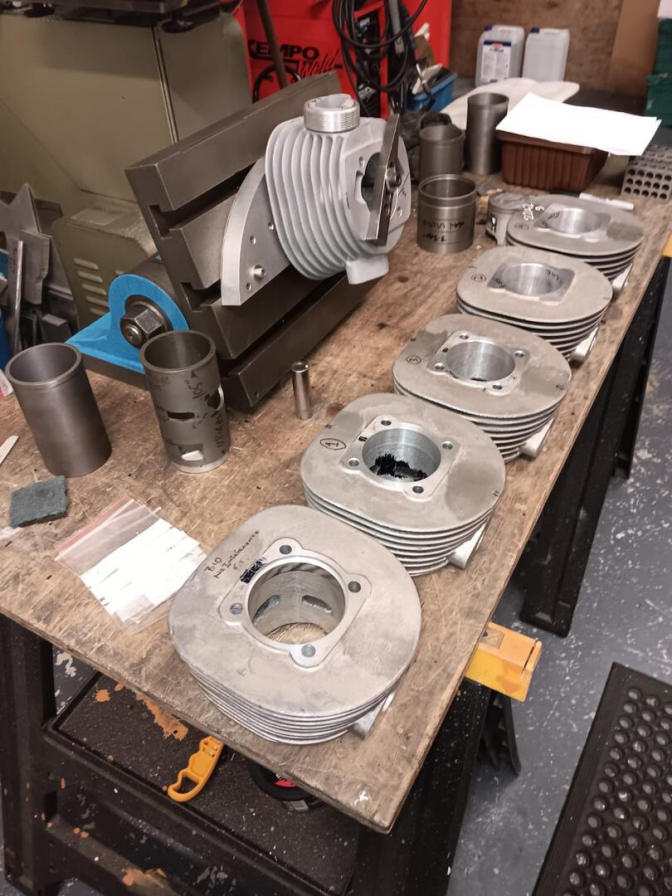
I have just spoken with Colin Boxley about the BSA Bantam LM25 alloy barrels that he is producing… Colin bought the complete tooling for the barrel from Jason Dickinson the son of the late master tool maker Mick Dickinson who had spent years developing the BSA Bantam alloy barrel for trials use…Mick was the man to go too for the Ariel HT barrels too…
Well since his purchase Colin has spent every waking hour working on the pre production engineering of these BSA Bantam barrels setting everything up to the correct tolerances has been hard work… he also has the benefit of getting Duncan from Westwood Liners to help him with the right choice of their superb liners to fit the bill, and be correct for machining the porting… Colin has the benefit of using a 3D scanner to help with the task of getting these to the same profile as Mick Dickinson used. Another tricky part of the operation is to shrink on the exhaust outlet threaded flange... but the good news here is that if damaged later this flange can with machining be replaced… again with the inlet port the face on this Colin says can be machined if nesasary to a few degrees difference in angle if required for a different carburettor angle. All in all Colin has taken on a huge task to re introduce these sought after barrels initially developed by the late Mick Dickinson and now continued with more thought by the irrepressible Colin Boxley of Raybox Engineering.
Price for these superb barrel's has not been calculated until the work on the first batch of five has been completed...although they won't be cheap with the amout of work put into each one, for you that want the best for your BSA Bantam trials bike or even road and race get your name in for one now...
_______
Friend Jake has got one of Colin's BSA C15 alloy barrel's on his new build BSA Otter...
Photos Courtesy "Jake" B..
And kindly Jake has taken photos of Colin's New BSA Bantam alloy barrels with steel liners...
Here are the sequence of photos that Jake has taken.
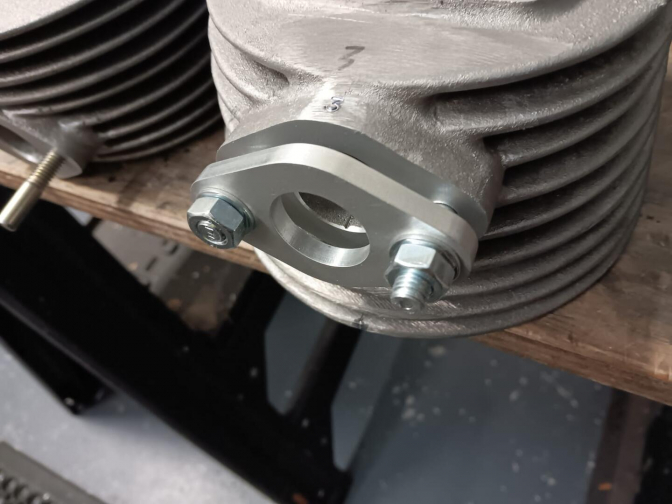
Photos "Jake-B"...
Manifold and spacer...these can be faced at a different angle if required...

Barrel fitted to D175 motor... for testing for frame clearance...
Machining exhaust port...ready for threaded boss flange to be shrunk on.
Liner port details...
And the other side...
Boring bore for liner...

Liner fitted... and threaded boss shrunk on.
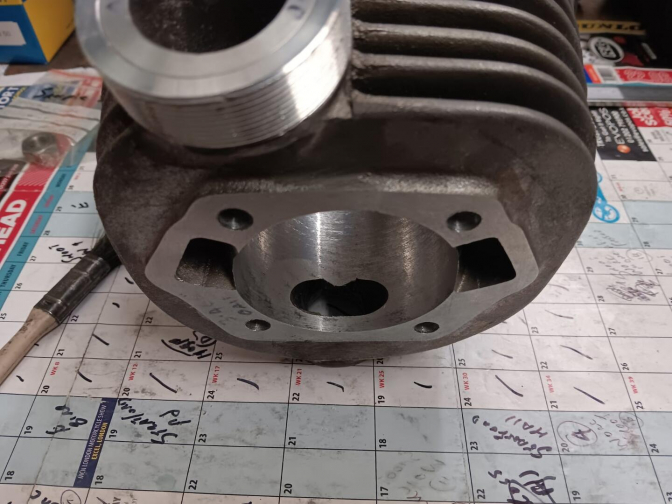
Threaded exhaust port details...
All Photos Courtesy "JakeB" and his copyright..C...
Six barrels in pre-production
I will ring Colin again for more details and finished price later.
Updat2024...04...
| Visitor Counter: | ||||||||
 |  |  |  |  |  |  | ||