

Gary Britton's "BMX2" Project.
All Photos Courtesy Gary Britton...2025...
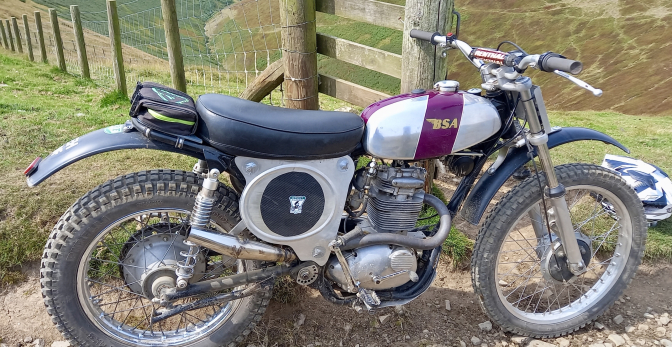
This is Gary Britton's MK 1"BMX" BSA B25 trail bike.
With the gifted B50 fuel tank.
_______
It has been quite some time since we had one of Gary's Interesting bike builds. So when I found he was building this BSA B25 bike up, I asked him if he was intrested still in doing the page, and I am glad he said yes because Gary never does a job by halves does he.
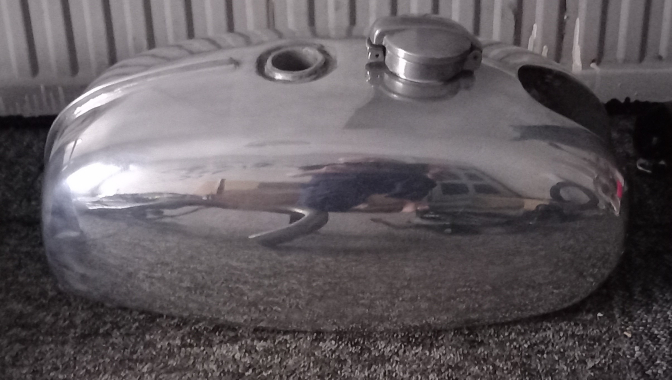
And this build started with just the Indian B50 fuel tank that needed a bike to sit on.
All Photos Courtesy Gary Britton.
The Indian Made B50 tank.
So, Now I've retired and have plenty of time, I've rediscovered trail riding.
I'd forgotten how much fun this is. The down side is, I no longer have access to a fully equipped toolroom to carry out my mechanical projects.
Some time ago I built a B25 trail bike and very good it's proven. One of the problems I had with MK1 was lack of fuel range.
So a larger tank was required. I could not find one anywhere so ordered one from India (I'll let you know if this is any good when I try it).
As soon as I paid for it a friend said "I have one of those you can have".
So MK1 is now fitted with a genuine 1972 B50 tank, and I have a tank surplus to requirement.
Any sensible chap would sell it on but not me. I could see another bike on the horizon. So MK2 BMX has started. Unlike all the trials bikes these are relatively standard and an easy build.
BSA done all the development in Umberslade Hall back in 1970.
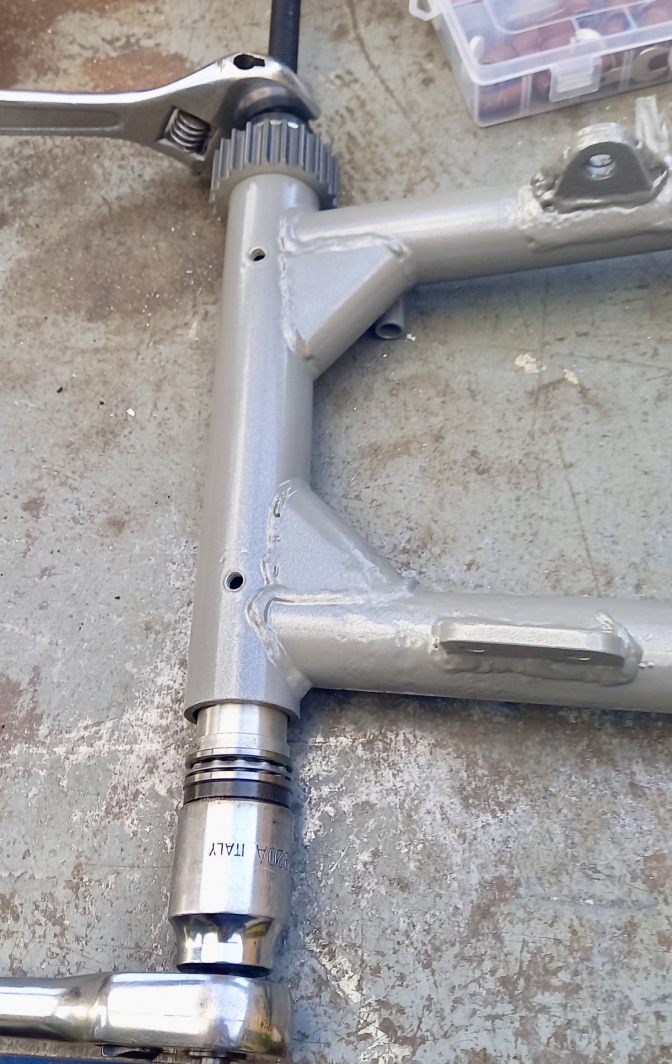
A local bike breaker had a Fleetstar frame and log book for sale so this was snapped up. The Fleetstar, B25, B50 and B50MX has all the same chassis and running gear. All the unnecessary lugs and brackets cut off. I wanted to fit an airbox, somewhere dry for the foam filter and coil/cdi unit to live.
This was cut with a hacksaw and file, no guillotine or brake press here. A good friend welded it. A good example of C.A.D. Cardboard, Aided. Design.
Sorry Charlie, fell asleep. Great getting old.. I moved the side stand from the lug on the left side frame to the right side swingarm. Don't normally fit side stands (I find them a nuisance on the trials bikes) but are a necessity on a trail bike.
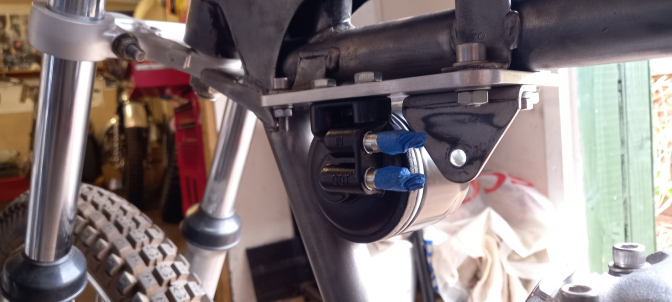
I move the cartridge oil filter from behind the engine to a more accessible position. Utilising the existing electric box mounting brackets. Some Dzus fasteners were added to allow the side panels to be fitted. That is about it for the frame. Ready for powder coating.
Now for the Fork Mods...
While the frame was away for powder coating, it was time for the suspension. I'm a great fan of the BSA Triumph Four-Stud forks but they do need a little help.
New handle bar clamps and spindle clamps were machined on my little Chinese lathe/mill. The machine is not what I'm used to but, if you're realistic you can do some decent work on them.
The "O" ring on the damping piston was replaced with a piston ring I machined out of Tufnol. It used to be possible to buy these but I can't find any now. (Think I had the last batch for sale Gary)...The rear shocks are of the Betor type. The hubs were vapor blasted and the wheels rebuilt.
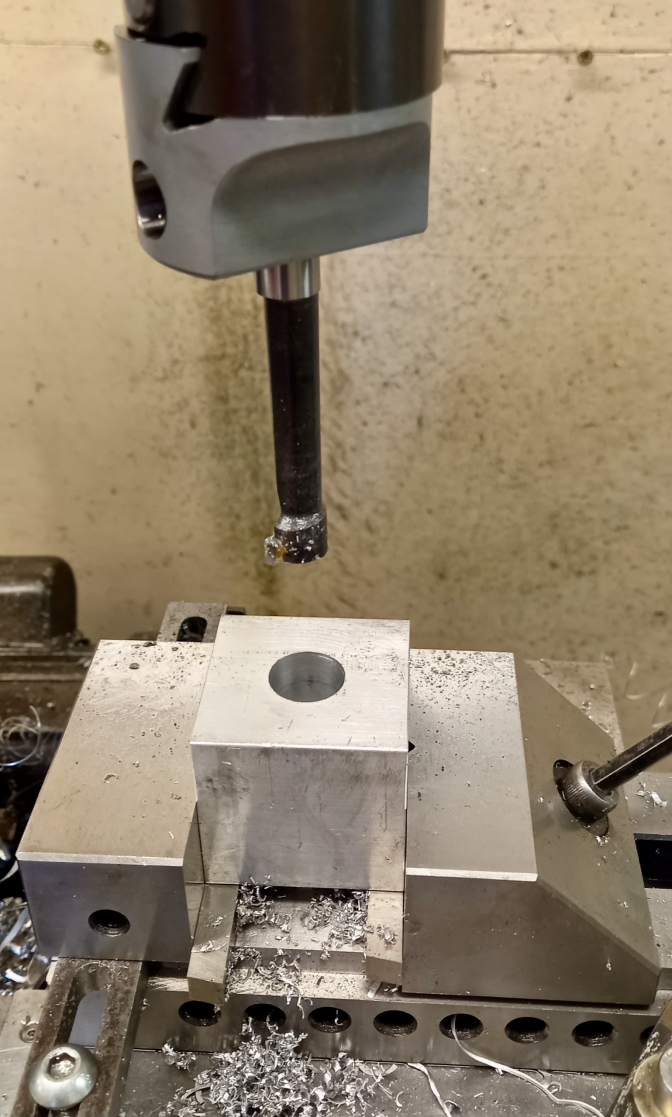
Nice job using a boring bar.
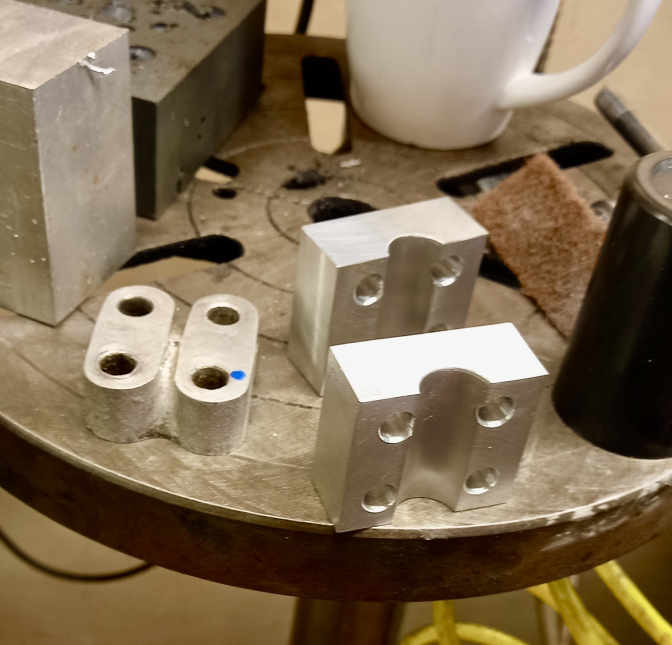
Ten times better than the cast ones you are forced to buy...
Showing a bit of skill there Gary...
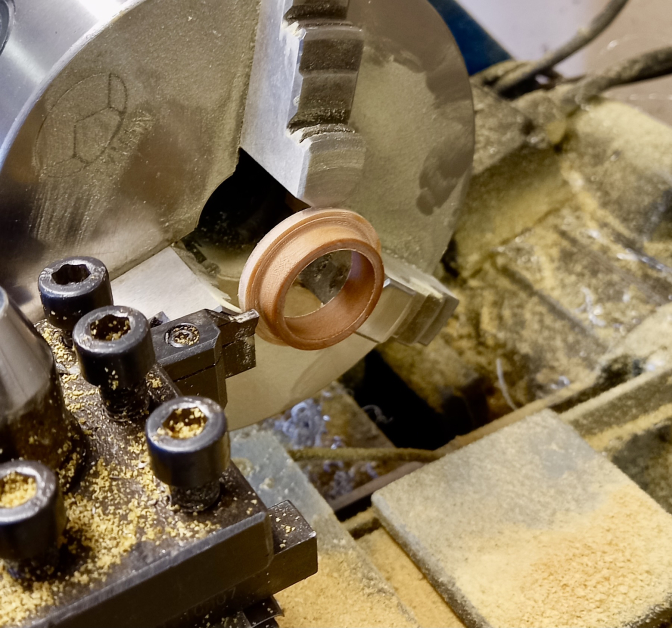
This photo makes the Tufnel rings look larger than they are ...so a delicate opperation.
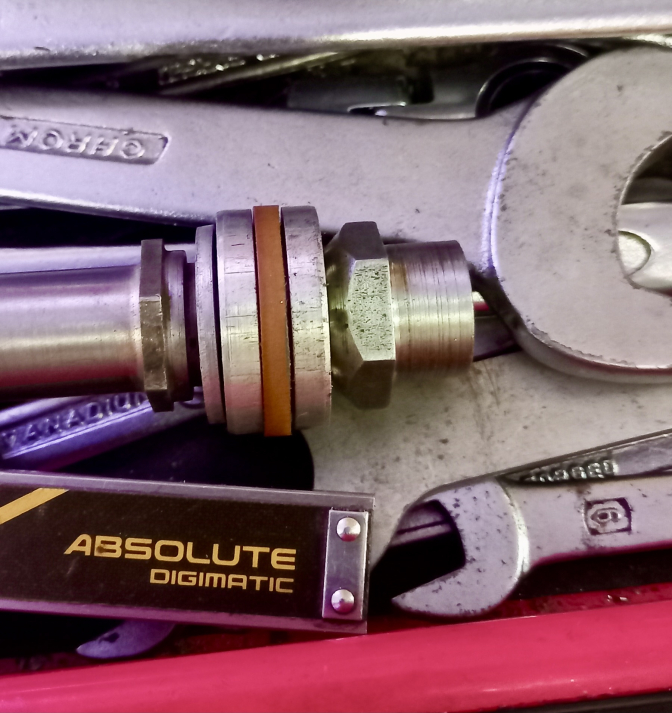
Tricky little blighters to get on as well, but they do work...
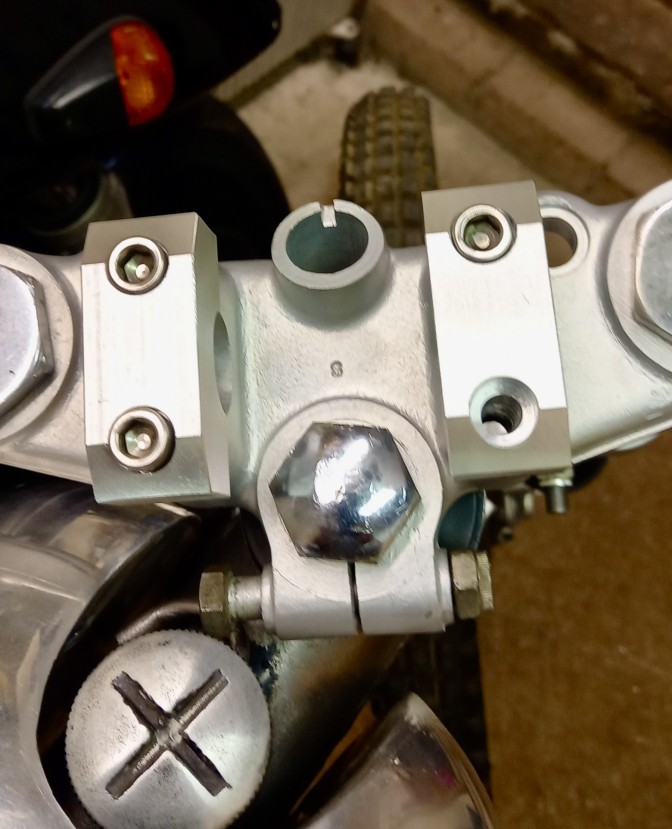
Yes these original bar-clamps crack too, so another good job replacing them Gary... The little Lathe coming into its own...
Engine...
Hi Charlie. Lets move on to the motor. I have a few BSA B25 engines knocking about in varying states of disrepair.
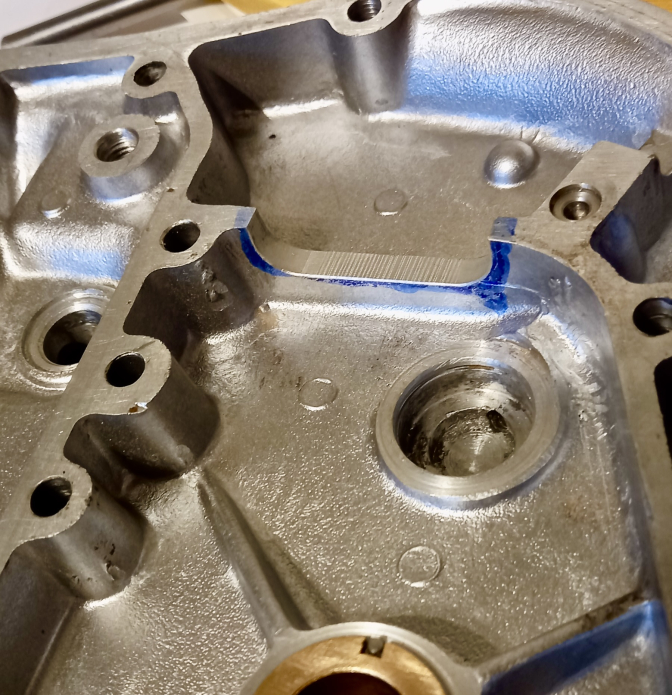
While on a trip to the dealer that I bought the frame off, he mentioned that he had the crankcases to match the frame. Matching numbers don't mean a lot to me but has they were reasonably priced I thought why not. The cases were vapour blasted and checked for damage.
Apart from the front mount bolt a bit baggy, all was good.
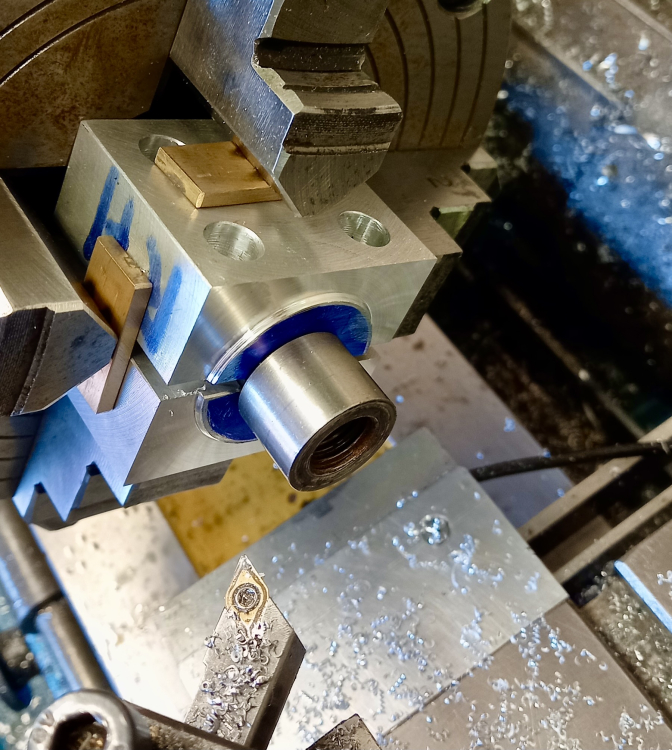
I drilled out the hole oversize then made a bush incorporating the spacer needed. I had a late crank and rod so I could start to build the engine. The barrel that I used had been modified. Someone had machined material from the base, I guess to raise the compression ratio.
A quick measure of MK1 and I could work out what thickness plate I needed to bring the CR down to a useful level.
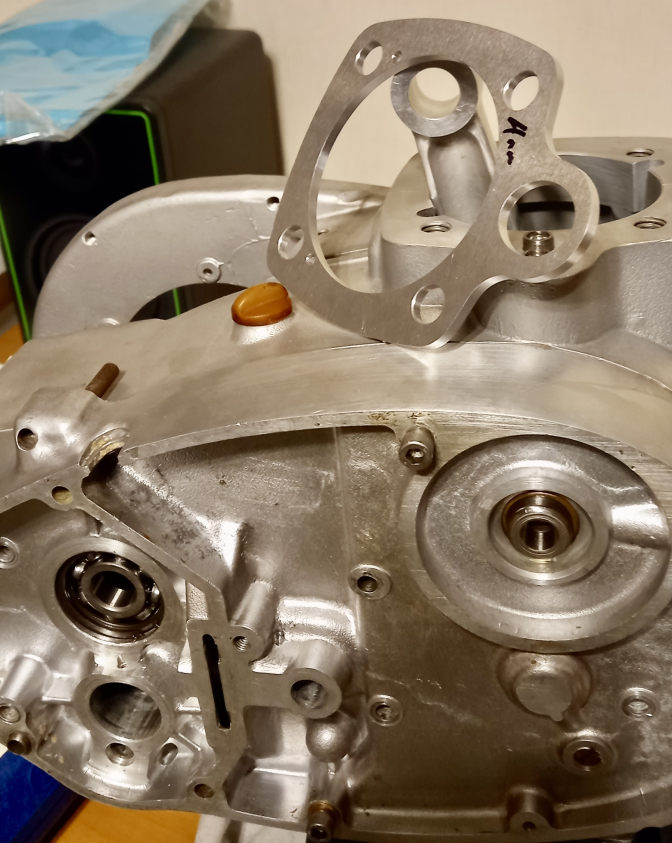
This plate was supplied by RAYBOX Engineering. Longer pushrod were made. The only inner cover I had was an earlier B25 so it needed modifying to clear the three stud cast iron oil pump.
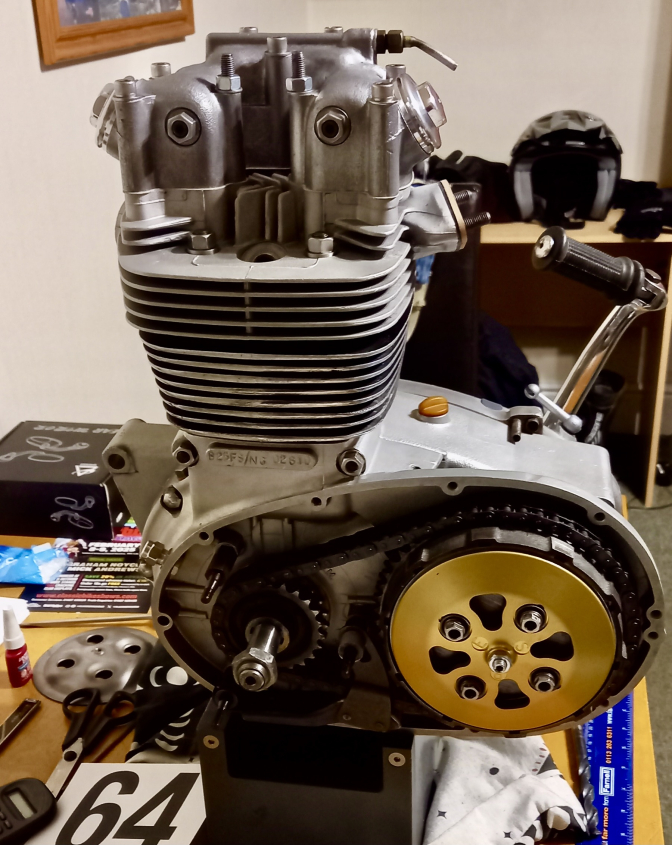
The rest of the motor was quite straight forward. Eletrex World ignition and a new 28mm Amal carb. No Pete Kirby clutch this time.
(Pete Seems to have stopped production at the moment Gary)...Dec 2025...
I have a few of the standard clutch's and have found a well put together five plate clutch is good enough for trail riding.
The PES pressure plate is a good upgrade.
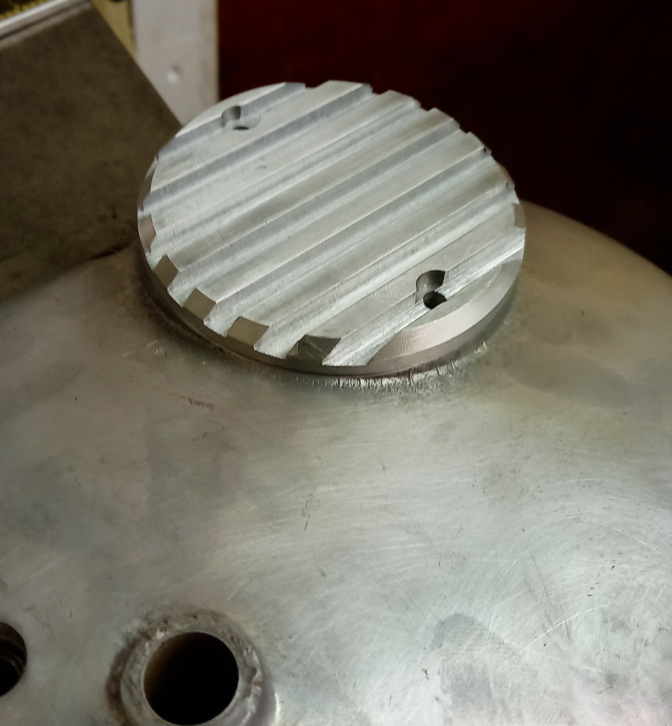
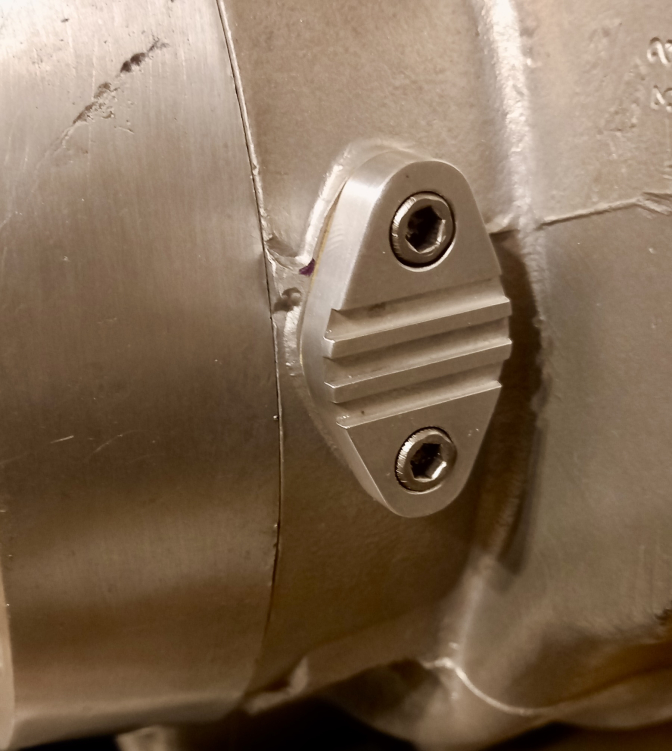
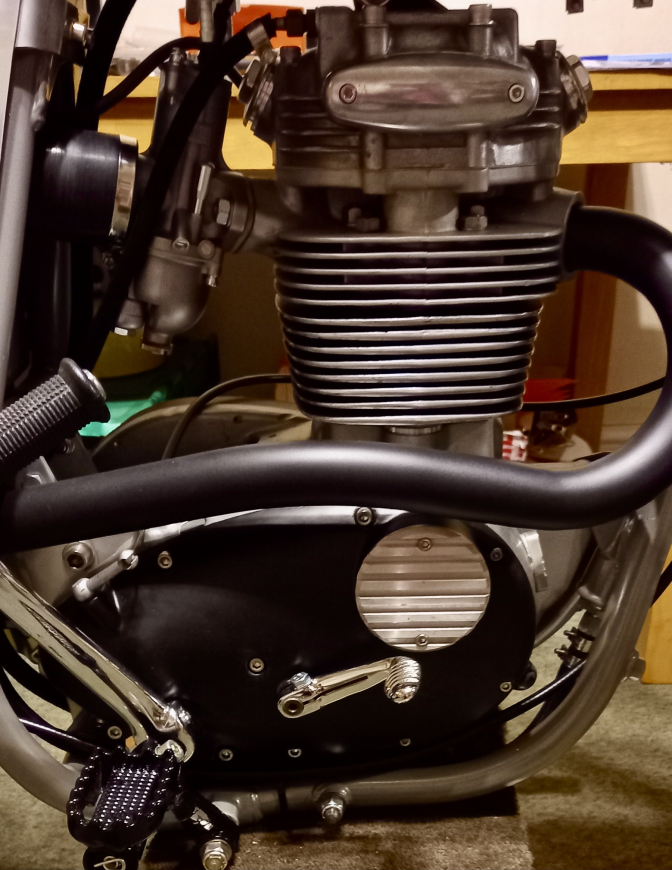
I machined the cover's for the ignition, primary and rev counter take off. I wanted to use CCM type engine case's but was put off by the price.
A less expensive alternative was to have them Cerakoted. I think that's about it for the engine. More later...
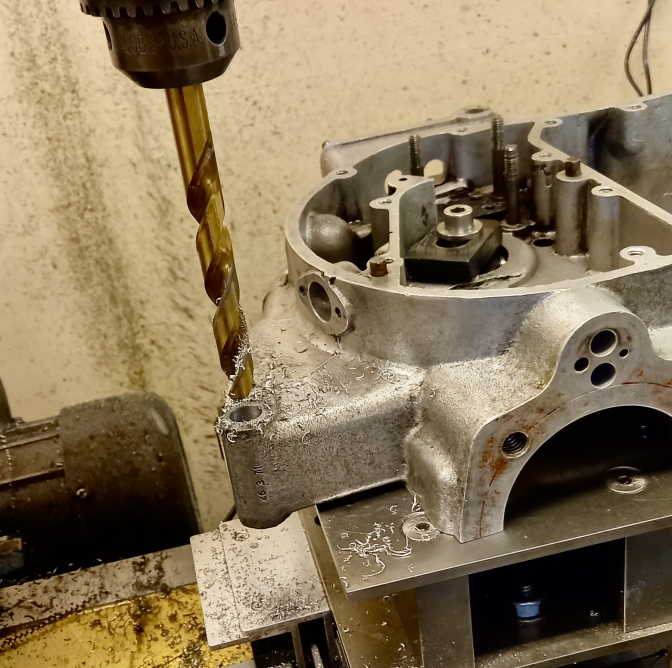
There is always wear in these mounting holes.
A Good Five plate clutch works well if assembled correctly...
One Of the Raybox Engineering compression plates...
Looks like I will have to get one of these little milling machines.
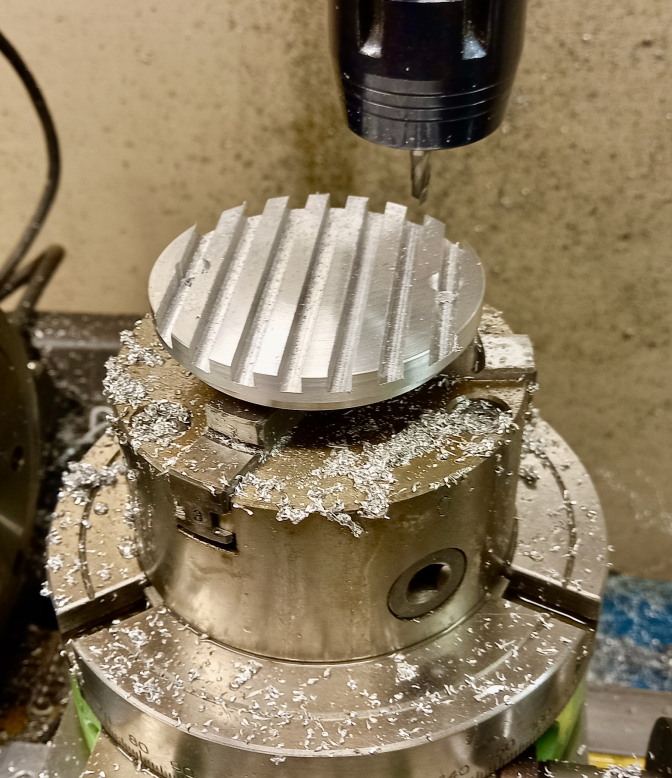
And how many hours Gary...
Another good upgrade...
Nice bit of engineering...
And the engine spacer conversion.
So, where were we.
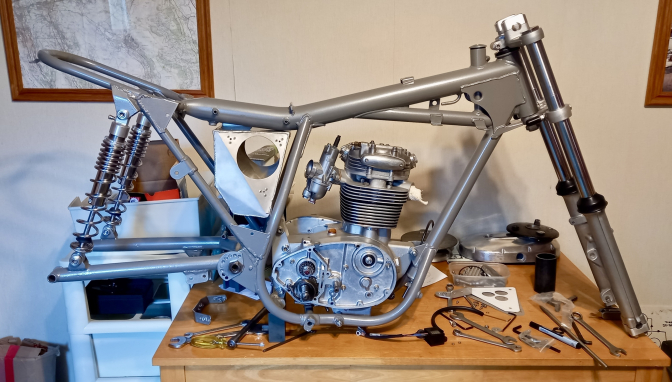
The frame returned from powder coating.(RPA Bristol) As always first class job.
As this is a fairly standard build there were no messing about with bearing adaptors or phosphor bronze bushes.
Standard off the shelf needle rollers in the swingarm and taper rollers in the steering head.
The engine and frame was reunited as it originally was in 1971.
Fitting the big bits together makes the assembly quite speedy, but a lot of little fiddly bits take up the time.
For instance, the pipe fittings on the filter are 10mm...3/8" but the oil lines are 8mm... 5/16". I machined up some adaptors to suit, I could have made them straight, but an extra ten minutes on the lathe and you have a more aesthetic looking piece. I tell people it help to cool the oil. (BS)...
The front end is all standard. The rear end I had to make a chain guard, brake torque arm, chain guide, rubber and tensioner.
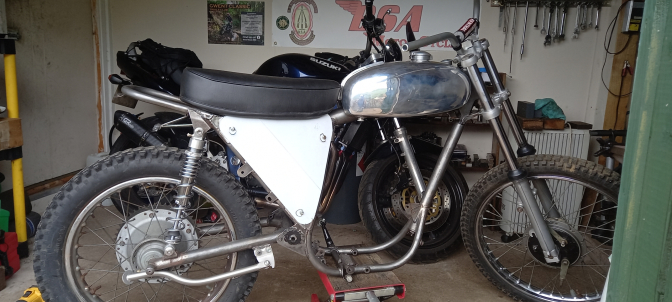
All the powder coating/ cerakoting parts came back and were fitted.
It's beginning to look a lot like a bike now.
All for now. Gary...
What would we do without sockets and studding...
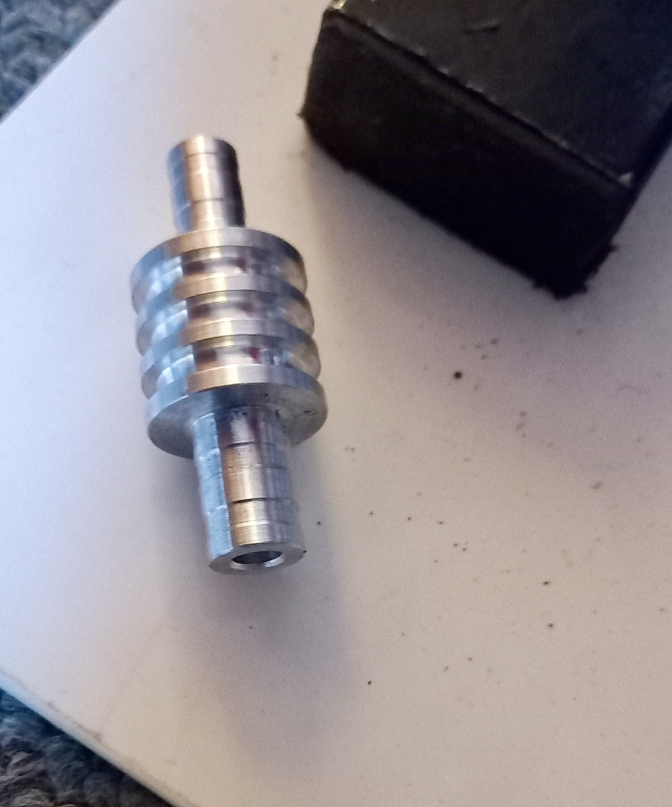
Yes thats an "Oil Cooler"...
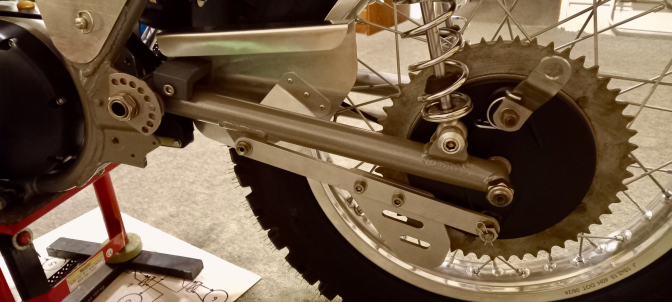
Like the R clip better than split pin...
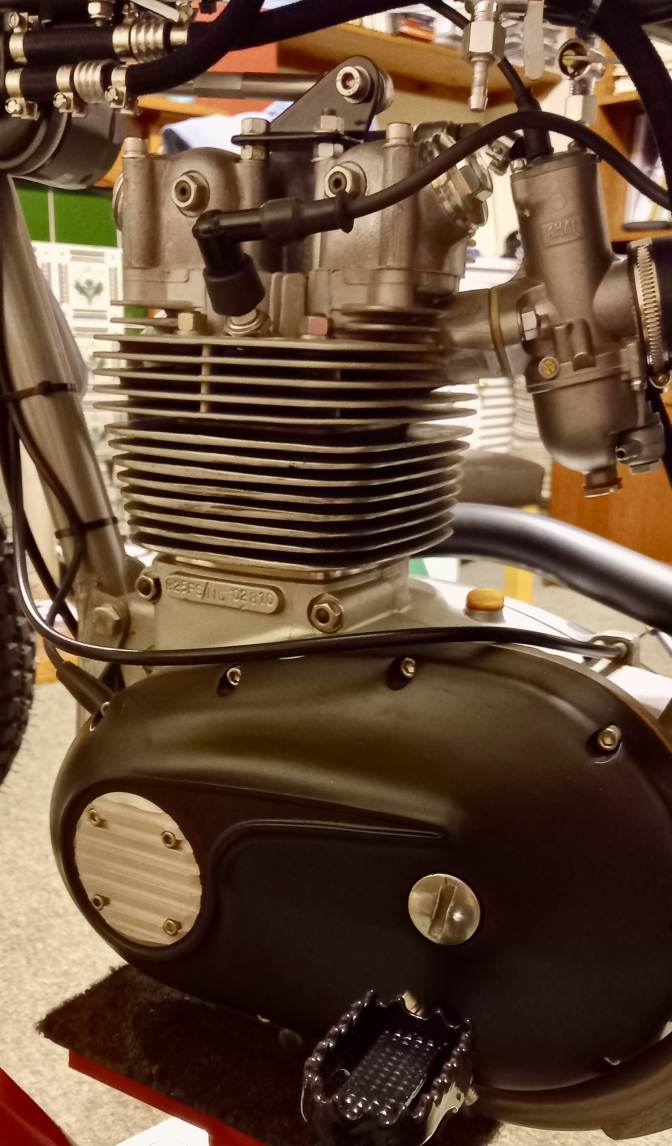
Class finish with the Cerakote and the finned cover.
Another Class bike build by Gary Britton.
All Photos Courtesy Gary Britton...
More later with photos of finished BSA B25 BMX 2...
Dec 2025...
| Visitor Counter: | ||||||||
 |  |  | |  | | | ||